What is Stainless Steel Passivation?
Stainless steel is widely valued for its strength, durability, and corrosion resistance. From food processing equipment and pharmaceutical vessels to aerospace components and architectural features,
The Guide to Welding Success
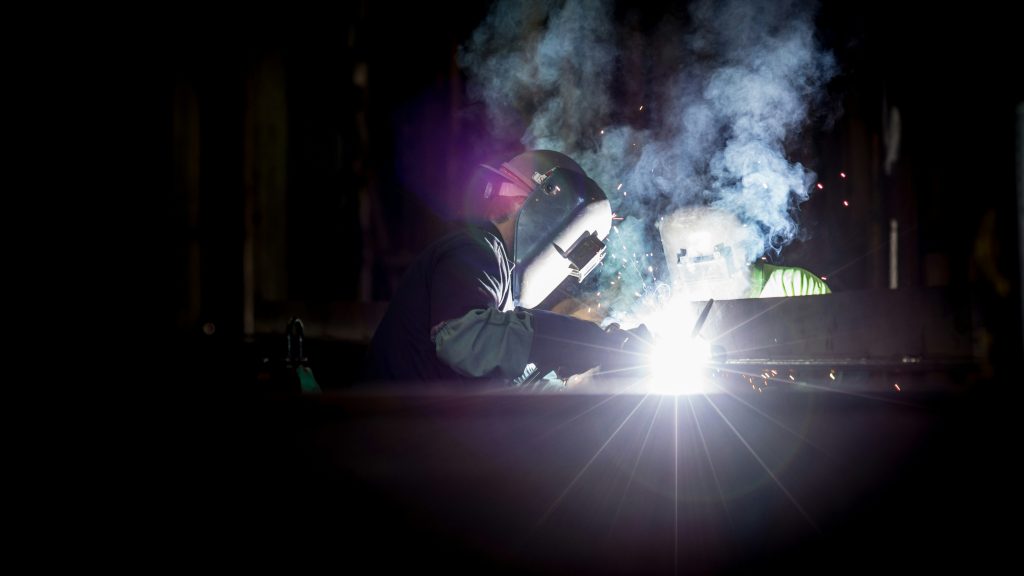
Welding stainless steel is a vital skill for fabricators, metalworkers, and DIY enthusiasts. Stainless steel is known for its durability, corrosion resistance, and sleek appearance, making it the material of choice for a variety of applications—from kitchen appliances to industrial machinery. But achieving a high-quality weld on stainless steel requires the right technique. In this blog, we’ll explore the three most common welding methods used for stainless steel: TIG, MIG, and Stick welding. We’ll break down the pros and cons of each method and explain why each type yields a slightly different result.

TIG welding, also known as Gas Tungsten Arc Welding (GTAW), is regarded as the gold standard for welding stainless steel. In this process, a non-consumable tungsten electrode creates the arc, while an inert gas (usually argon) protects the weld pool from contamination. TIG welding provides precise control, allowing welders to create clean, strong, and aesthetically pleasing welds.
Pros of TIG Welding:
1. Precision and Control: TIG welding gives the welder full control over the heat input, which is crucial for stainless steel, as too much heat can cause distortion or burn-through.
2. Clean Welds: Because of the inert gas shielding, TIG welds are free from contamination and oxidation, ensuring a neat, high-quality finish.
3. Versatility: TIG can be used on thin and thick materials alike, making it a versatile method for various stainless steel thicknesses.
Cons of TIG Welding:
1. Skill and Experience: TIG welding requires significant skill and experience. The process can be challenging for beginners due to the need for precise coordination between the torch, filler material, and pedal control.
2. Slower Speed: Compared to MIG or Stick welding, TIG welding can be slower, especially for thicker materials.
Quick Steps for TIG Welding Stainless Steel
Prepare Your Equipment:
Prepare the Material:
Start the Arc:
Begin Welding:
Finish the Weld:
Clean the Weld:
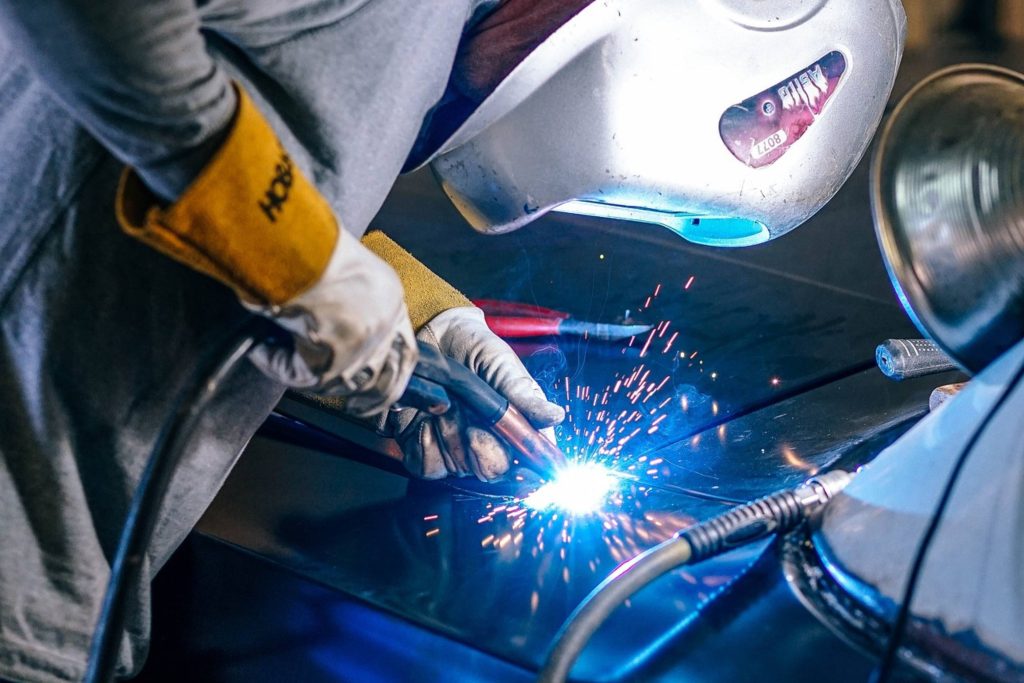
MIG welding, or Gas Metal Arc Welding (GMAW), uses a continuous wire feed to create the weld, which is protected by a shielding gas (typically argon or a mix of argon and CO2). MIG welding is fast, making it an attractive option for high-production environments.
Pros of MIG Welding:
1. Speed: MIG welding is much faster than TIG welding, which makes it ideal for larger projects or situations where speed is essential.
2. Ease of Use: MIG welding is easier to learn, making it a popular choice for beginners. The continuous wire feed makes it simpler to control compared to other methods.
3. Less Spatter: When using the right settings, MIG welding produces minimal spatter, resulting in less post-weld cleanup.
Cons of MIG Welding:
1. Less Control: MIG welding doesn’t provide as much control over the heat input as TIG welding, which can lead to defects like burn-through or weak welds, particularly on thinner stainless steel.
2. Less Aesthetic Quality: While MIG welds are functional and strong, they can be less aesthetically pleasing compared to TIG welds, especially on visible or decorative stainless steel surfaces.
Quick Steps for MIG Welding Stainless Steel
Set Up the Equipment:
Prepare the Material:
Start Welding:
Move the Torch:
Finish the Weld:
Clean Up:
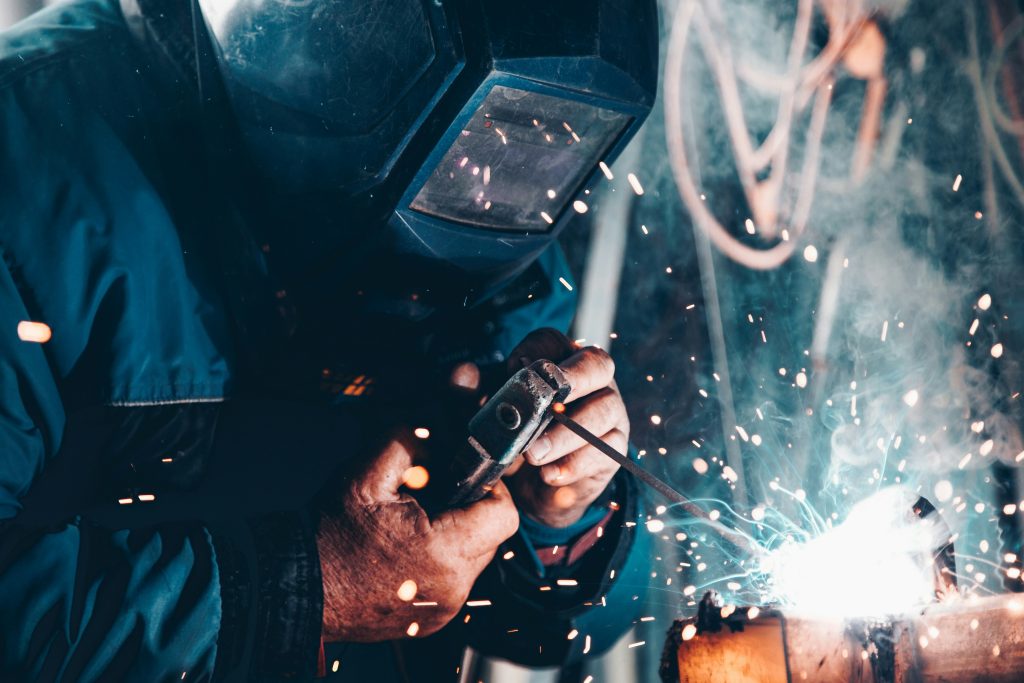
Stick welding, or SMAW, is one of the oldest and most widely used welding techniques. In this process, a consumable electrode coated in flux is used to create the arc and join the materials. The flux coating provides a shielding gas to protect the weld pool.
Pros of Stick Welding:
1. Versatility: Stick welding can be used on a variety of materials and is well-suited for outdoor work due to its resistance to wind and environmental factors.
2. Portability: Stick welders are often more portable than TIG or MIG machines, making them a good choice for fieldwork or locations without access to a power supply.
3. Ease of use: Stick welders are regarded as the simplest to use.
Cons of Stick Welding:
1. Less Precision: Stick welding doesn’t offer the same level of control or cleanliness as TIG or MIG welding. It can lead to more spatter, slag, and contamination in the weld.
2. Appearance: Stick welds can look rough and require more cleanup, especially on stainless steel, where a clean finish is often critical.
Quick Steps for Stick Welding Stainless steel
Set Up the Equipment:
Prepare the Material:
Strike the Arc:
Weld the Joint:
Finish the Weld:
Clean Up:
In conclusion, while all three welding methods—TIG, MIG, and Stick—are capable of producing functional welds on stainless steel, TIG welding stands out as the most superior and skillful option. It offers the highest level of precision, control, and cleanliness, making it ideal for critical applications where the appearance and strength of the weld are essential. TIG welding requires more skill and experience, but the results speak for themselves: beautifully smooth, strong, and durable welds.
Whether you’re working on a delicate stainless steel sculpture or a high-performance exhaust system, TIG welding is the method that will help you achieve the best results. Its combination of quality, versatility, and precision makes it the go-to choice for those who demand excellence in stainless steel welding.

This post was written and brought you by Stainless Finishing Solutions Ltd.
Stainless steel is widely valued for its strength, durability, and corrosion resistance. From food processing equipment and pharmaceutical vessels to aerospace components and architectural features,
In March we were proud to support World Kidney Day 2026 by donating £10 per every order that week to Kidney Care UK. Kidney Care
Next week, we are proud to support World Kidney Day 2026 – a global awareness day dedicated to kidney health. This year, World Kidney Day
Stainless steel is chosen across industries for its durability, corrosion resistance, and clean professional appearance. However, even high‑quality stainless isn’t immune to surface imperfections. One
Discolouration on a stainless weld Stainless steel is renowned for its sleek appearance and corrosion resistance. But if you’ve ever worked with it – especially
Stainless Steel Weld with Discolouration Welding stainless often results in heat-affected zones and discolouration, which can compromise the appearance and corrosion resistance of the metal.
| Cookie | Duration | Description |
|---|---|---|
| cookielawinfo-checbox-analytics | 11 months | This cookie is set by GDPR Cookie Consent plugin. The cookie is used to store the user consent for the cookies in the category "Analytics". |
| cookielawinfo-checbox-functional | 11 months | The cookie is set by GDPR cookie consent to record the user consent for the cookies in the category "Functional". |
| cookielawinfo-checbox-others | 11 months | This cookie is set by GDPR Cookie Consent plugin. The cookie is used to store the user consent for the cookies in the category "Other. |
| cookielawinfo-checkbox-necessary | 11 months | This cookie is set by GDPR Cookie Consent plugin. The cookies is used to store the user consent for the cookies in the category "Necessary". |
| cookielawinfo-checkbox-performance | 11 months | This cookie is set by GDPR Cookie Consent plugin. The cookie is used to store the user consent for the cookies in the category "Performance". |
| viewed_cookie_policy | 11 months | The cookie is set by the GDPR Cookie Consent plugin and is used to store whether or not user has consented to the use of cookies. It does not store any personal data. |